
There is no right or wrong way to photograph smoke. This tutorial on smoke photography is a description of the method and set up that I used. Once you get started, experimentation is the key to better and creative images.

Equipment Required
- Camera preferably a DSLR or a camera which gives you control over shutter speed, aperture and zoom.
- Incense sticks – An easy source for smoke.
- Desk lamp or light source which can be focused in one direction.
- Off camera flash with wireless trigger, a flash cable or a flash with optical trigger.
- Black background a cloth or foam board will do.
- Ventilated dark room – Too much smoke in the room will reduce quality of the shot and will be difficult to work in.
- Tripod and stands for the flash
- Patience, lots of it.
Set Up
- The background should be placed 3-4 feet away from the light sources. This ensures that the background stays completely black.
- The two light sources should be placed opposite each other. Take care that light does not fall on your lens.
The tip of the incense stick should be around 10cm below the light sources and your point of focus. This is because smoke tends to follow a straight path at first and then disintegrates.

Camera Settings
- A high shutter speed to freeze the smoke around 1/200sec.
- A high aperture value to get in all the detail around f/8 or higher.
- Low iso to keep the noise to the minimum.
After a couple of test shots you will know what settings best match your shot. Try your best to keep the background as dark as possible and to get the exposure correct in-camera.
The Shot
Switch off any other light sources so that the room is dark. Close the windows and doors so that the smoke is not disturbed by any air blowing.
Light the incense stick and switch on the desk lamp. This lamp will help see the smoke and lets you focus. The auto-focus might not work very well in these situations and I recommend using the manual focus.
If you are using a tripod then you only need to focus once as long as you do not move the incense sticks.
Take a couple of test shots to get the background dark and the smoke correctly exposed. Adjust the positions of the light sources and background if necessary.
Open any windows or doors every 7-10 minutes to let the smoke out as it is not good for your health or your photos.
Let creativity take over and start experimenting. Once you know the smoke patterns you can gently blow the smoke to get new patterns and forms. You can change the angle or the focus point of your shot. To get thicker smoke try using more than one incense stick and you can get some amazing shots of smoke mixing and interacting.
Post processing
Open the picture in the software of your choice. I usually shoot in RAW and use Lightroom and then Photoshop.
Increase the black if necessary to get the perfect background. Adjust the exposure and contrast but remember not to overdo it as you tend to lose details while doing so.
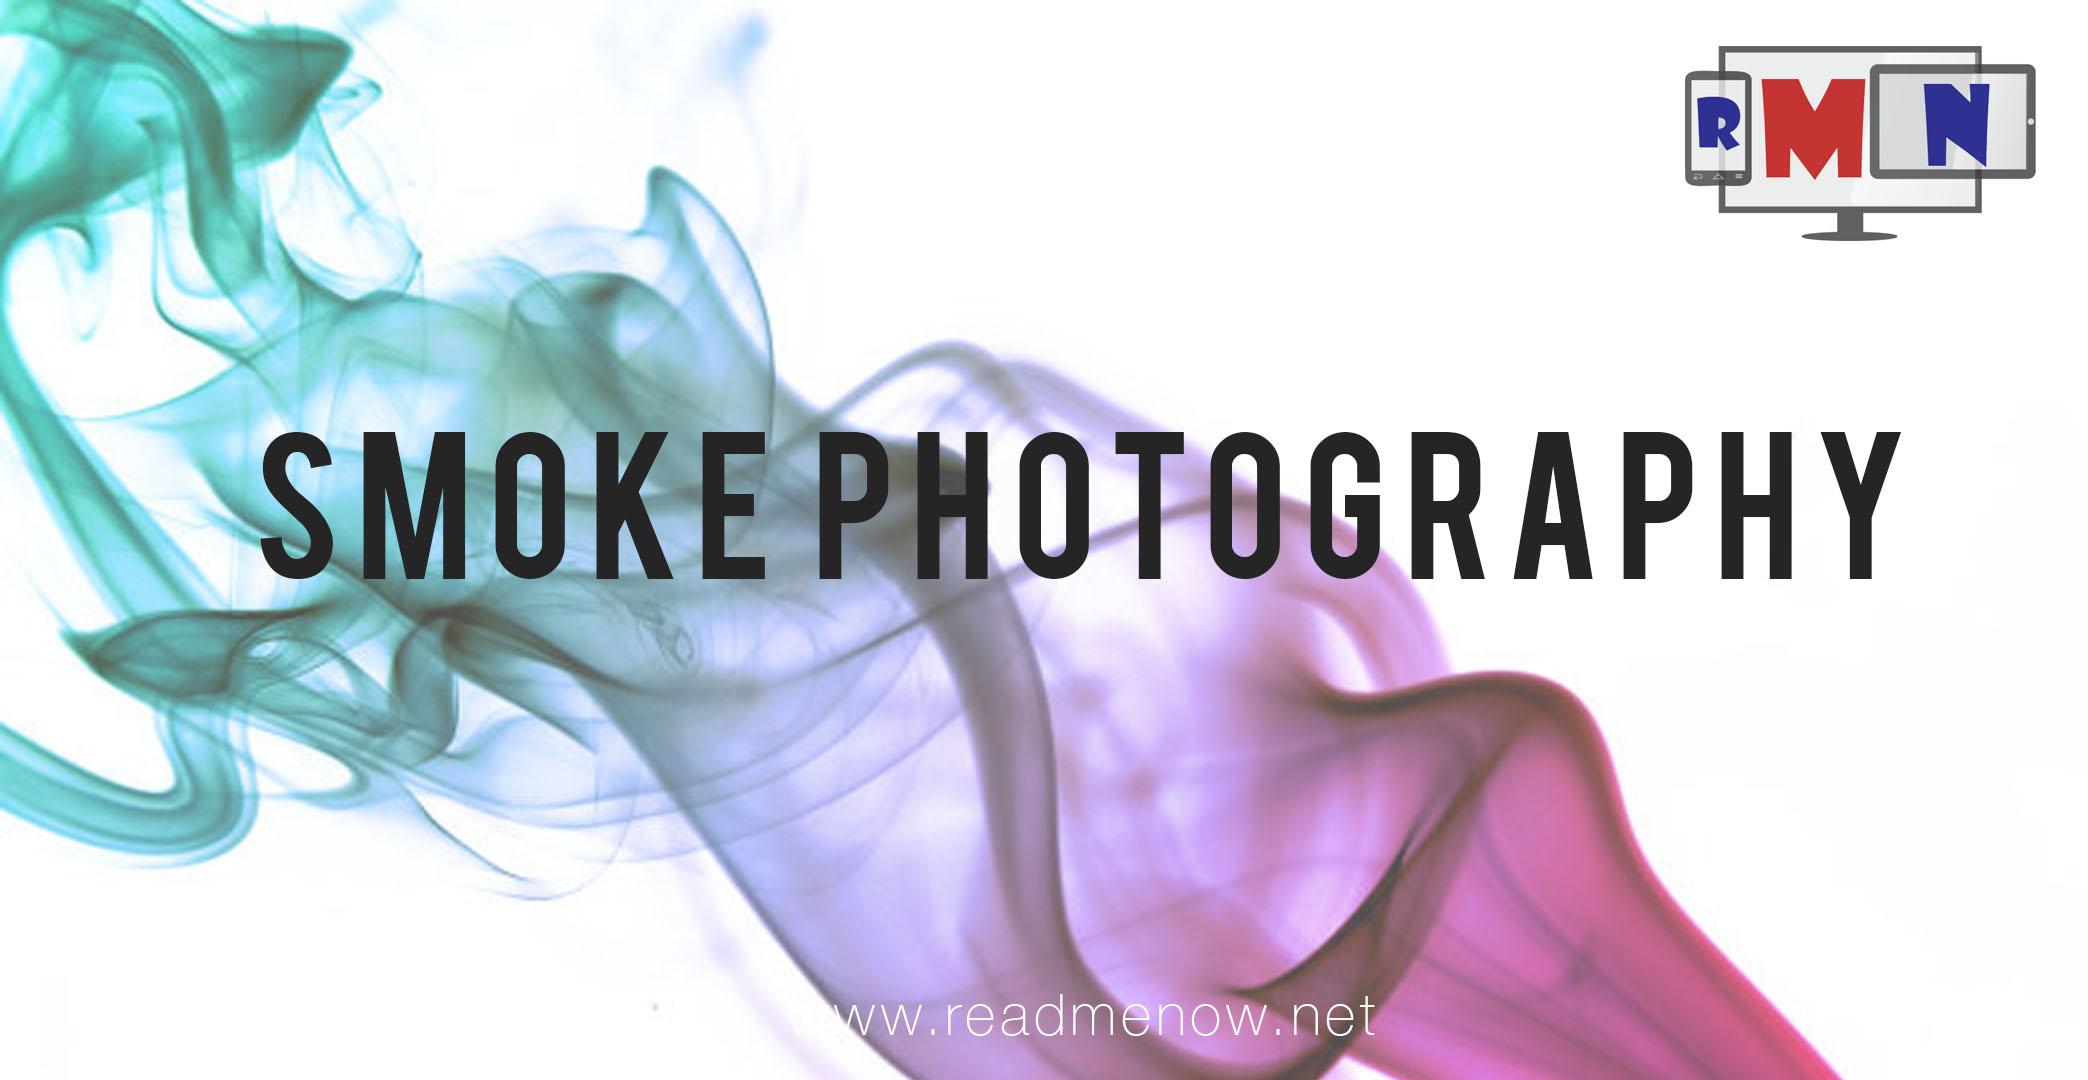
Using Photoshop you can brush out unwanted patches of smoke. To colorize the smoke, create a new layer and set it to multiply mode. You can now use a brush or the gradient tool and paint on this new layer and the colours will appear on your smoke image. If you want a white background for your smoke, go to Image>Adjustments>Invert or use the keyboard short cut Ctrl+I.

Get a bit extra creative and merge shots of different objects with the smoke photos to create some beautiful images.
If you found this tutorial helpful and tried smoke photography, do let me know by posting your photos at our facebook page: www.facebook.com/readmenowblog.
Featured Image credits: jmiwamie


Appreciation to my father who shared with me concerning this website,
this weblog is really amazing.