
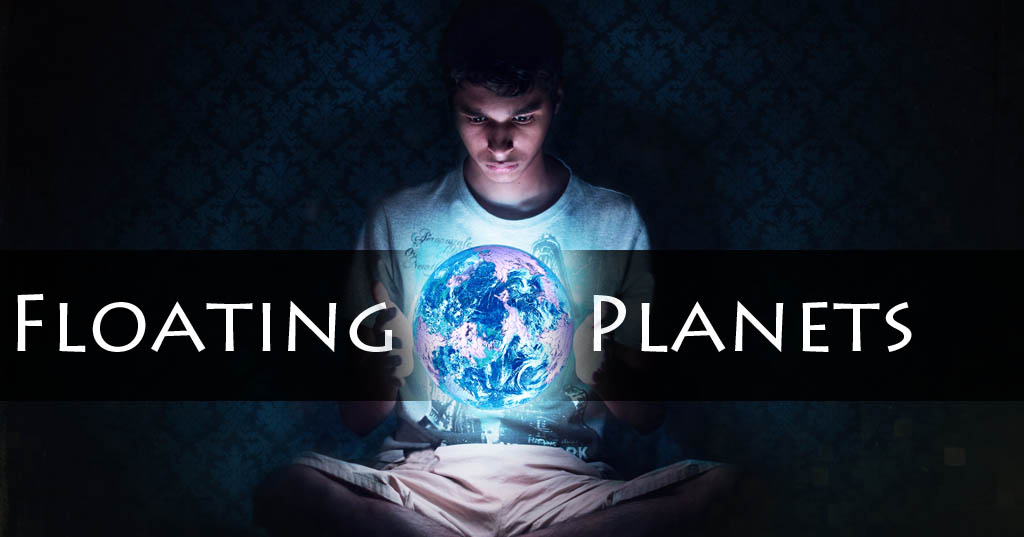
A few months ago, I made a floating planets picture. It was my first try and was pretty happy with it so I decided to make a quick tutorial. You will be surprised how easy making a floating planets picture really is, perfect for a lazy day when you are not in a mood to go outside.

Floating Planets Tutorial
Equipment Required
- Camera
- A glass bowl
- Light source – I used some christmas lights.
Camera Settings
As we are using only the decorating lights as our light source, the camera settings should be optimised for low light. A reasonably slow shutter, a wide aperture and an iso level keeping noise levels in mind should be chosen.
I used 1/20s, f/1.8 and ISO-100 (those lights were pretty bright actually). You might want to use a slightly smaller aperture (f/4-f/5.6) to capture all the details.
The Shot
The photos should be taken in a darkened room. Basically you need two identical shots of you holding the bowl in each hand. Try not to make any noticeable movement between the two photos. I do not have a shutter release cable so I used the self timer. I set the timer to take two pictures 5s apart so that I don’t have to move in between the shots.
Post Processing
1. Open the pictures in a post processing software (I used lightroom/photoshop).
 2. If needed, reduce or increase the temperature of the image to match the colour/glow of the planet you want. For example, reduce the temperature (more blue) if you want to use the planet earth. Increase the temperature if you want to use a sun instead.

3. Use any one photo as the base image. Now using layer mask, mask in the free hand of the second photo in place of the hand holding the bowl in the base photo.
4. A stock image of the planet or sun can be found on sites such as DeviantArt. Please make sure you read the terms of use for the particular picture.
5. Open the image of your choice as a new layer. The blending mode depends on what works best for your photo. Use layer mask to remove unwanted parts from the stock image.
Optional:
6. You can give a glowing effect to the floating planet by using a paint brush. Set the colour matching that of the planet and reduce opacity to around 10-20%. On a new layer, below the planet layer (that is the planet on top) just paint once or twice where the planet would have been.
7. I added a texture or wallpaper to the background. You can also get these from DeviantArt.
If you liked the tutorial and tried a floating planets shot, you can let us know by posting your picture on our facebook page: www.facebook.com/readmenowblog
See also: Tutorial – Smoke Photography.


