
![Apache PHP & mySQL using XAMPP[Tutorial]](https://readmenow.in/wp-content/uploads/2014/08/Xampp.jpg)
This is a tutorial on how to install Apache PHP & mySQL using XAMPP on a Windows Machine. XAMPP is a an application bundle that consists of Apache Server, PHP, mySQL, Mercury and Apache Tomcat. If you are a serious web developer or a novice doing a college project, XAMPP comes in handy for both.
Let’s take a look at How to Install Apache PHP & mySQL using XAMPP on a Windows Machine.
Step 1: Goto Apache Friends Website and look out for the appropriate version you want to download. If you are a web developer working on an old project and for that matter, need a previous version of PHP, select accordingly. Your download will start automatically.

Step 1: Goto Apache friends website.
Step 2: A file similar to this will be downloaded. Double Click on the .exe file to launch it.

Step 2: Download file
Step 3: You will be prompted with a Warning talking about UAC on your Windows Machine. Click on OK.
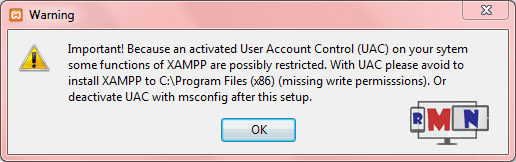
Step 3: Get rid of UAC
Step 4: Now let’s start installing. Click on Next.

Step 4: Begin Installation Preferences
Step 5: Select what all components you want to install and click on install. I am selecting all the components.

Step 5: Select Components to install
Step 6: Select a location where your server will sit. This is an important step as all your files will sit in this folder.

Step 6: Select Installation Directory
Step 7: Check if you want to know more from BitNami. I am going to deselect this for now.

Step 7: Bitnami Newsletters
Step 8: You are now ready to install XAMPP on your computer. Click on Next. Easy, huh?

Step 8: Begin Installing
Step 9: This might take a while. Let XAMPP do it’s thing. Grab a coffee or something in the meanwhile.

Step 9: Grab a cup of coffee
Step 10: Finish the installation by selecting the “Launch Control Panel” and clicking the finish button.

Step 10: Finish the Setup
Step 11: This is the XAMPP Control Panel. Click on Start for Apache and mySQL. The servers will start.

Step 11: Launch Xampp Control Panel
NOTE: Some services like Skype might be accessing your default http port. So you might consider changing the port for Apache as follows.
Step 12: Change the default port number by clicking on config, select “Service and Port Settings” and entering a different number under 65535

Step 12: Sort out port conflicts.
Step 13: Let’s test the server now. All your project files will be stored in C:/xampp/htdocs file.

Step 13: Local server directory
Step 14: Goto http://localhost/
If you see this splash screen, you have successfully installed XAMPP.

Step 14: Splash Screen
NOTE: If you have specified a different port number in Step 12, the url should include the port number also. Eg: http://localhost:3333
Step 15: You can delete all the files in the htdocs folder. I am going to create a new folder and a PHP file in it called “test.php” For now I am just going to put this in my php file.
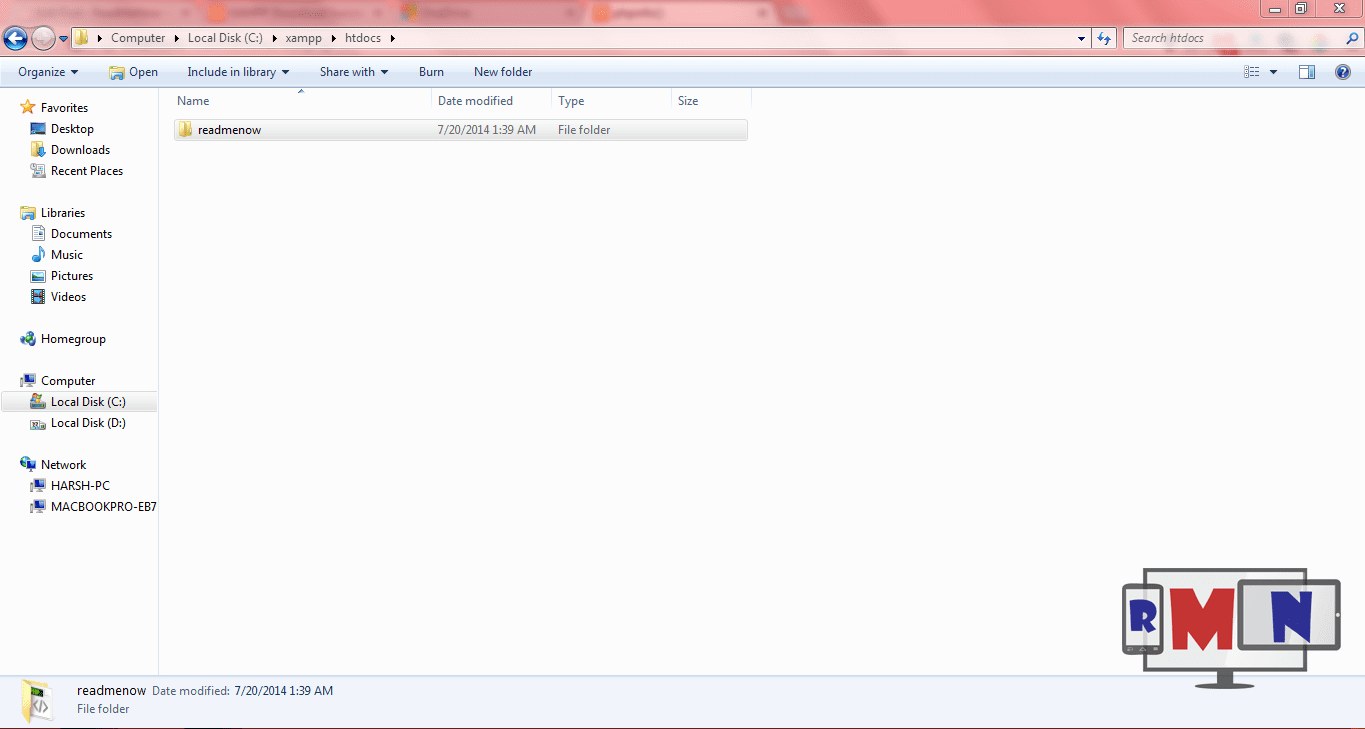
Step 15: Php test prep
Step 16: Launch your browser and go to the path where your file is. In my case, it’s going to be, “http://localhost/readmenow/test.php”
Step 17: You should see Phpmyinfo on the browser.

Step 17: phpinfo in Chrome
Step 18: Finally done! You have successfully installed and configured XAMPP.
I will embed a video tutorial also. Please take a look at it and let us know your comments/suggestions/feedback.


