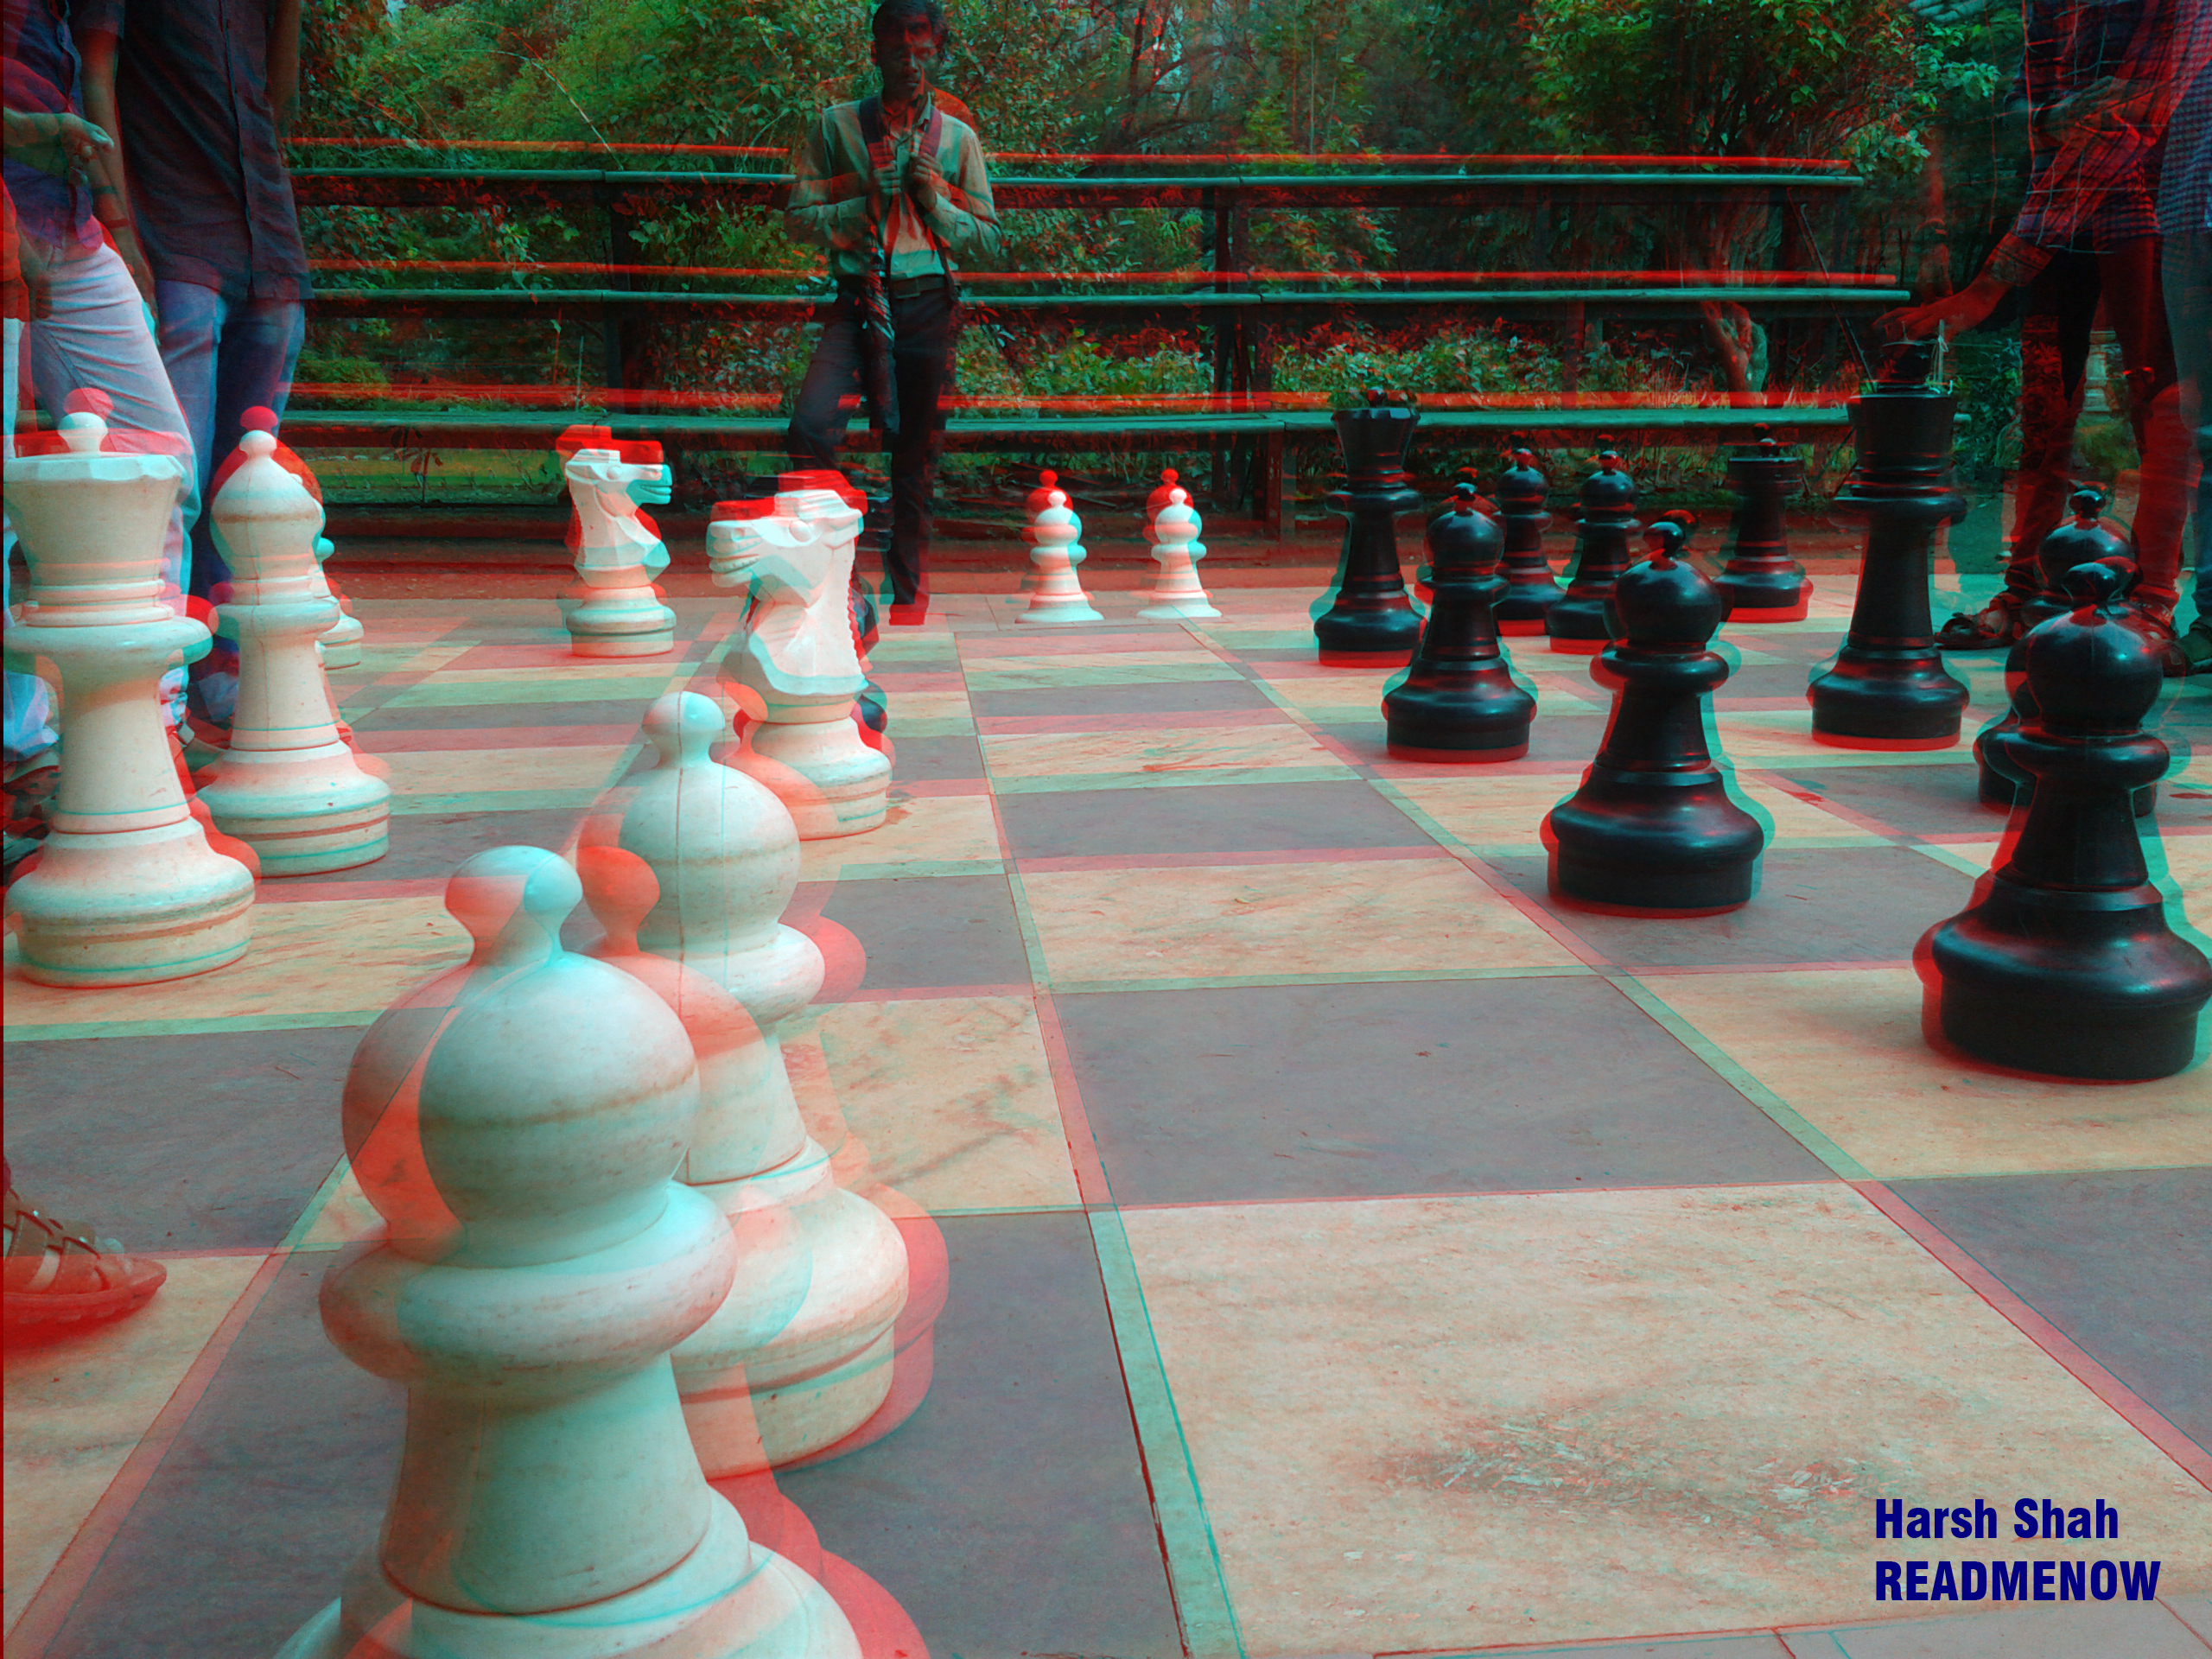
Our previous post was about the concept of Anaglyph 3D in which we discussed stereoscopy, the concept of 3D anaglyph and it’s applications. In this tutorial, let’s learn how to make 3D anaglyph images in Photoshop. I am sure this is going to be an exciting tutorial. Most importantly, do share us your anaglyph images on Facebook, Twitter or any other social networks. Anaglyph 3D is a very interesting concept and guess what? Besides that, It is also very easy to make 3D images using Photoshop or any third party software.
Note: You will need 3D glasses for this tutorial.
Pre-requisites to make 3D anaglyph images in Photoshop.
1) Two similar cameras(Recommended) or a single camera.
2) Adobe Photoshop and creativity.
The technique behind making 3D anaglyph images in Photoshop.
We need stereoscopic images. We can achieve that by taking two cameras and placing them at an approximate distance of 2.5cm. To get this right using a single camera click photos at an approximate distance between two eyes. Then we will merge the two images in Photoshop. We need to disable green and blue channels for the left eye image and red channel for the right. Voila, we are done. Easy?
Steps to make 3d anaglyph images in Photoshop
Step 1: Click two pictures. The distance should be 2.5cm as shown in the image below.
Step 2: You should have two similar images like this.
Step 3: Then open Photoshop. I am using Photoshop CS5 but other versions should work fine.
Step 4: Load both the images in Photoshop and then, you will see something like the image below.
Step 5: Merge the right image on the left one and reduce the opacity to 60%. Rename the layers as left and right. Adjust the image to keep a little distance between two similar objects.
Step 6: Now, deselect the red channel for right eye image and green, blue for left image. You can do this by double-clicking the layer or right click-Blending Options. Increase the opacity of the right image to 100%. Then click on OK.
And you are done. See the final image below.
If you are still struggling and need any help? Check out this video tutorial and subscribe to us for more:
So, that was a tutorial on how to make 3D anaglyph images using photoshop. Do let us know if you have any doubts, comments or suggestions.


